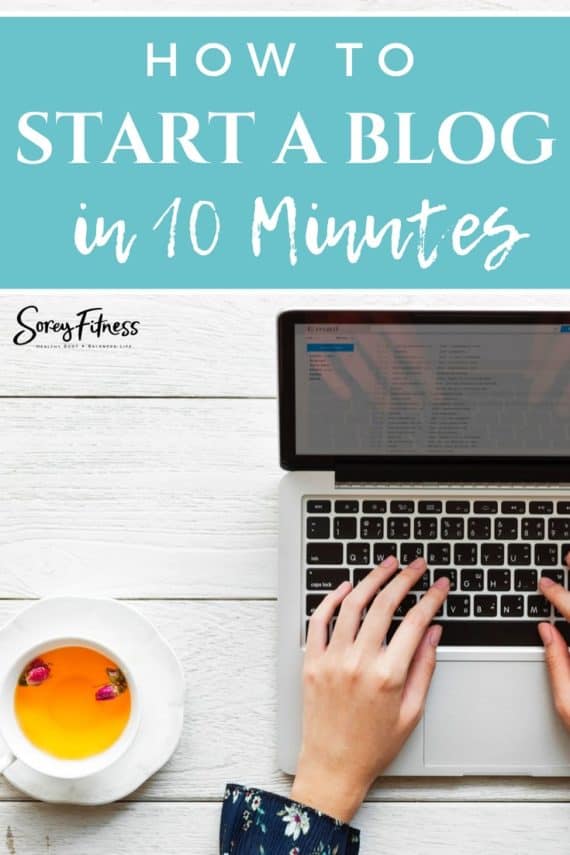
How to Set Up Your Blog in Under 10 Minutes
This post may contain affiliate links. All opinions shared are my own. As an Amazon Associate I earn from qualifying purchases. Click to view our full disclosure.
Starting your blog doesn’t have to require a professional or a lot of time. In our How to Start a Blog Series, we outline some of the benefits of blogging. For starters, it helps you establish yourself as a credible brand and provides opportunities to create income streams.
This post will guide you through starting your blog and outlines important details about choosing your domain, host, and theme. Hang with us, and I know by the end of this post you will have your blog set up and ready to share your thoughts with the world! (This post includes affiliate links).
Starting Your Blog
Why Trust Us?
My mom and I have been blogging for 5 years and have about 7 million views on our blogs. It started as a way to connect with our clients we had in network marketing, but it grew into its own income machine. We weren’t tech-savvy, have no background in programming or writing, and made our blog into a full-time income. Our background is in education – which I think has helped us break down starting your blog into functional, simple steps.
Our System
In the next steps, you’ll see that we suggest Bluehost for your new self-hosted blog. Bluehost provides a set-up of your platform and a domain name. So as you go through the steps – know you go through that one site to set it all up.
For me, sometimes it’s helpful to see the steps we’ll take together first, and then act. Here’s a quick video that literally shows me starting your blog in just 8 minutes!
You can choose to watch this video, or I’ve outlined the steps with pictures and text below.
3 Steps to Starting Your Blog
1. Choosing Your Platform
In our first post, we outlined how to choose what your blog will be about. The next step is to choose how you’ll present it.
Since you are serious about starting your blog, we suggest doing a self-hosted blog on Wordpress.org. This means you own your site and have the freedom to do with it whatever you like.
Free vs Self-Hosted (aka you pay for it)
It may be tempting to choose a free option; however, the free options are very limiting. Plus, a self-hosted blog can be created for $3.49 a month so we’re not talking a huge investment.
Some of the limitations of a free blog can include:
- unable to be monetized (courses, products, affiliates, ads)
- not being able to do giveaways
- limited customization
- the company you work with can shut it down anytime
A Wordpress.org platform (not .com) is our favorite to use because:
- allows for a fully custom blog
- you can monetize however you want
- it’s seen well on Google
- always being updated (which makes it easier to you and Google loves it!)
- its very easy to learn and use
- there is no need for a professional to set it up.
Not convinced? See Our Wordpress vs Blogger Comparison & Review
2. Naming Your Domain
Your domain is the name of your blog, like www.YOURSITE.com. Your domain is the hardest part to change so take some time to think about it and think – am I going to like this 10 years later? Does it connect with my blog strategy?
Tips for Choosing a Domain Name
- Aim for a “.com” versus some of the other options because it’s easier for people to remember.
- Search potential names on Google to see what pops up. KnowEm is also a great research tool.
- Choose something short and easy to remember. Skip long words, numbers, and symbols.
- If in doubt, your name is a great choice! After all, it is your blog, thoughts, and future business!
- Keep in mind that your domain might be taken, but that’s when using your name can be helpful.
3. Signing Up with Your Host
Now that you know your platform and domain name, you’re ready to put in some action. Your host is where your blog lives online. If you’ve ever had a site take forever to load or “crash” – it’s because of the host. Also the reliability and speed of the host can help you pop up on Google higher.
So the host is important because it’s where all of your files, posts, and content are placed so that when you search for your site – the information pops up!
We mentioned above that we love BlueHost.
Here are a few reasons why:
- allows you to start your blog for $3.49 a month
- great customer service and tutorials
- gives you a domain name included
- recommended by Wordpress
- reliable service
- can use a domain you already own
- 30-day money-back guarantee
The video at the beginning of this post can walk you through signing up, getting your domain name and Wordpress all set up in under 10 minutes. However, I also want to include a few pictures to walk you through it.
You can view the video above for the same steps to get started.
Below is the same thing with text and pictures.
Starting Your Site on BlueHost
1.Go to BlueHost and click get started now

2. Type in the domain name you’ve chosen.

3. Enter in your account information.

4. Choose your package information.

This section is totally up to you. I personally like to do at least a year to get a better rate. If you’re planning to blog for a long time, I would say go with whatever you are most comfortable with.
They also have a money-back guarantee so if you change your mind you can cancel in 30 days.
You’ll also see other options offered. I personally like the SiteLock and Privacy options. You can always add them in later. I also recommend a backup system. You can choose to do it with Bluehost or a plugin. I personally like having my host do it (just so I don’t have to worry).
5. More Things to Skip

You’ll be offered two more add-ons, but I wouldn’t personally suggest either.
6. Congratulations! Your host is set up!

Your account is all set up! Now it’s time to add in a password and write it down.
7. Next, we need to login to your hosting.

8. Choose to Install Wordpress

It may pop up with a wizard which you can use, or just keep following these steps. You’ll just want to click “Install Wordpress” – the icon might look a little different; however, the words will be the same.
9. Click Install

10. Show Advanced Options

11. Name your site

You can always update this later, but you’ll want a create a username and password for your Wordpress login. This is what you’ll use every time you log in to your blog after this setup.
12. Wait for it to install (usually 5-10 minutes)
![]()
13. Once it’s done, you should have an email with your login details.

The Admin URL is what you’ll use from here on out to log in to your blog. Now that you’re hosting is all set up, you won’t need to login into Bluehost again unless it’s for billing. To write content and blog – you’ll log in with that Admin URL.
14. Go login to your new blog!

15. If you missed your password – no worries.

To retrieve your password, go back to Bluehost and click on the “view.” It will show you everything including your URL Admin, username, and password. It can be helpful to record that somewhere.
16. Login and start looking around Wordpress!

WOO WEE!! You did it! That was the HARDEST part!
You just DID that! Give yourself a pat on the back!
Now everything is about what you think is pretty and what you want your site to look like.
It’s totally cool if you need a glass of wine now.
When you’re ready to come back and join us to set up your theme – which is what your site looks like!
While Wordpress has a lot of themes to choose from under “Appearance” – they don’t allow you to customize a whole lot.
They also tend to be slow to load, not mobile friendly and don’t do well on Google searches.
One more purchase in starting your blog…
We are affiliates for and use StudioPress for all of our websites with a blog.
They are so easy to use & gorgeous! They also don’t require you to know any kind of coding, and they are very affordable.

Each theme comes with a set-up guide too so that you can make it your own. The set-up guide walks you through step-by-step how to add menus, sidebars, logos, etc.
You can choose a theme based on your personality and brand from StudioPress here. We highly encourage you to choose to filter them by “Accessibility Ready” because as people continue to use their devices – Google will continue to rank mobile responsive (aka accessibility ready) sites higher.

Perks of a StudioPress Theme:
- SEO Friendly
- Set-up guides
- No need to know code
- Easy to change and tweak
- Customizable
- Functional and easy to use
- MUCH cheaper than a web designer
Funny story – we thought we were too cool for a StudioPress theme about 18 months ago. We worked with a web designer to make a site with more features and to be a faster speed, and $3000 later – the site wasn’t faster, easier to use or prettier. These themes are worth the investment!
Our Favorite Themes:
View All StudioPress Themes
Once you chose a theme, you’ll be able to view it under your account. There were will be a download option and next to it a “Set Up” guide. You’ll download, and upload it to Wordpress under Appearance > Themes > New.
Then, the setup guide will be different for each theme, but just take an afternoon and get it organized like you want. You’ll be so glad it’s all set up, and you can always tweak it.
You seriously just made it through the hardest part. You are a pro now!
Everything else we tackle in the Master Blog Series will make it easy peasy to starting your own blog.
Did this starting your blog guide help you?
Please consider using our Bluehost link when you start this video so that we are able to keep offering these types of training.