Curious about what a blowout is for your hair? A salon blowout includes drying and styling hair with hot tools. Find out the cost, how long it lasts, and how to do a home blowout below.
A blowout could very well be a big fight between friends, your boyfriend, or husband.
But what is a blowout when we are talking hair?
You can skip to the part you’re most interested in:
- What is a blowout?
- How long does a blowout take?
- How long does a blowout last?
- How much is a blowout?
- Do they wash your hair for a blowout?
- Blowout vs Blow Dry
- What does a blow out look like?
- What does a hair blow out include?
- DryBar Experience Review
- How To Get A Perfect At-Home Blowout Step-By-Step
- Blowout Hair Tools and Tips
- Are blowouts bad for your hair?
What is a blowout?
A blowout hair treatment is a popular service at many salons. Blowouts help hair look voluminous and glossy. Guests can choose a straight or curled hairstyle with a blowout hair treatment. Typically, the treatment includes a hair wash and possibly other upgrades.
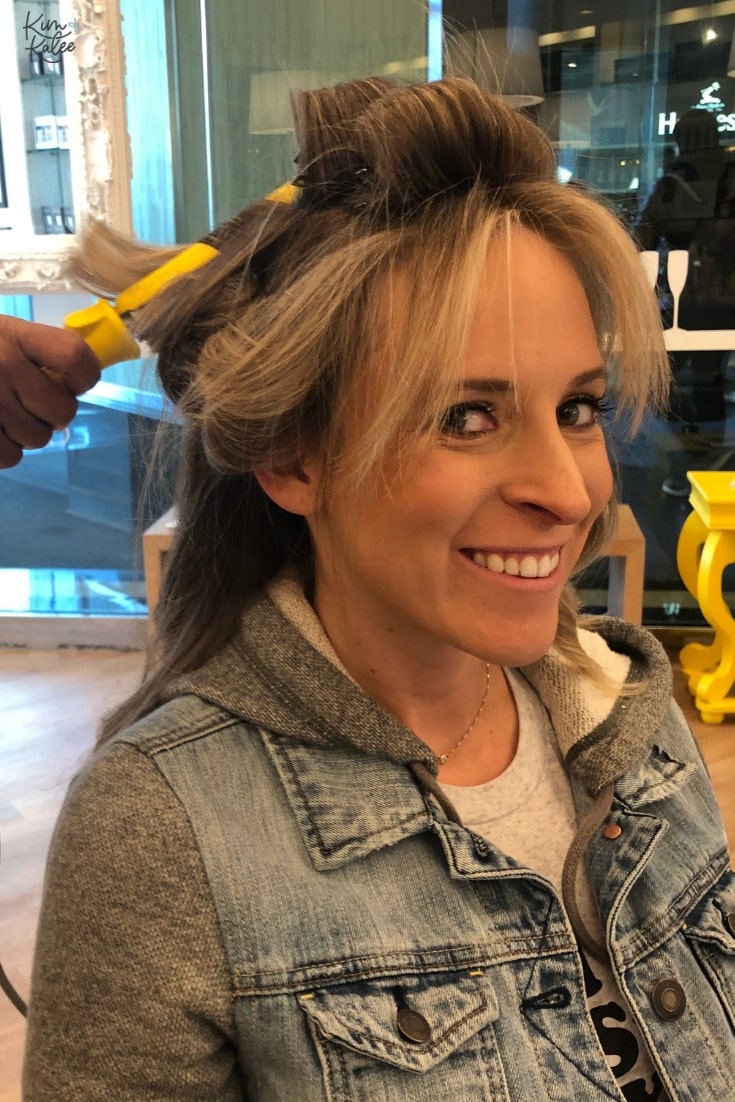
What is a blowout at a hair salon?
You know when you walk out of the salon, and you are saying, “man, I wish I could do my hair like she (your hairdresser) does!!” Well, you probably received a blowout as part of your appointment.
Kalee & I get a blowout any time we get our hair done by our hairdresser as part of our highlight appointment. Most hairdressers will do this as part of “fixing” your hair before you leave and making it pretty.
However, if you’ve got a big night out or just want that pretty look that you walk out of the hairdressers with, you can book a “blowout” appointment.
How long does a blowout take?
A blowout for hair takes around 45 minutes, but it can vary depending on your hair and desired style.
How long does a blowout last?
A blowout can last 3 to 5 days depending on your hair’s texture and thickness. You can also extend the blowout but wearing a shower cap in the shower and using a dry shampoo on any oily spots on day 2 or 3.
Also, the texture of your hair plays a role. More textured hair holds a blowout longer typically versus less-bodied or finer hair.
How much is a blowout?
A regular salon blowout is between $45-90 dollars depending on your hair and desired results. This includes your hair being washed and styled typically.
Do they wash your hair for a blowout?
Yes, the first step of a blowout service is to have your hair washed. They’ll then brush it out for tangles and begin styling it.
Blowout vs Blow Dry
For the price and time, you may consider just blow drying your hair. While a blowout for hair does take time and money, it can help reduce frizz, add volume, and create either a slick style or a bouncy hairstyle depending on your goals.
If the price or going to a salon leaves you hesitant to try a hair blowout, why not try mastering the technique of a home blowout!
What does a blow out look like?
A blowout can create a variety of hairstyles. You can go from naturally curly hair to straight hair or turn your straight hair into bouncy curls or soft waves. You’ll want to let your stylist know what kind of look you’re wanting when you go for your appointment.
Go Back to Top
What does a hair blow out include?
What Kalee & I had at the Drybar is pretty standard treatment for blowouts.
Blowouts normally consist of:
- hair being shampooed & conditioned with a wonderful scalp massage
- hair will be blow dried and styled with a round brush & high powered, professional grade blow dryers and curling irons. Secret…these professional tools, along with the hairdresser’s experience, are reasons why most of us can’t achieve the same look at home.
- hair being treated with the correct products to protect and to hold the style for days.
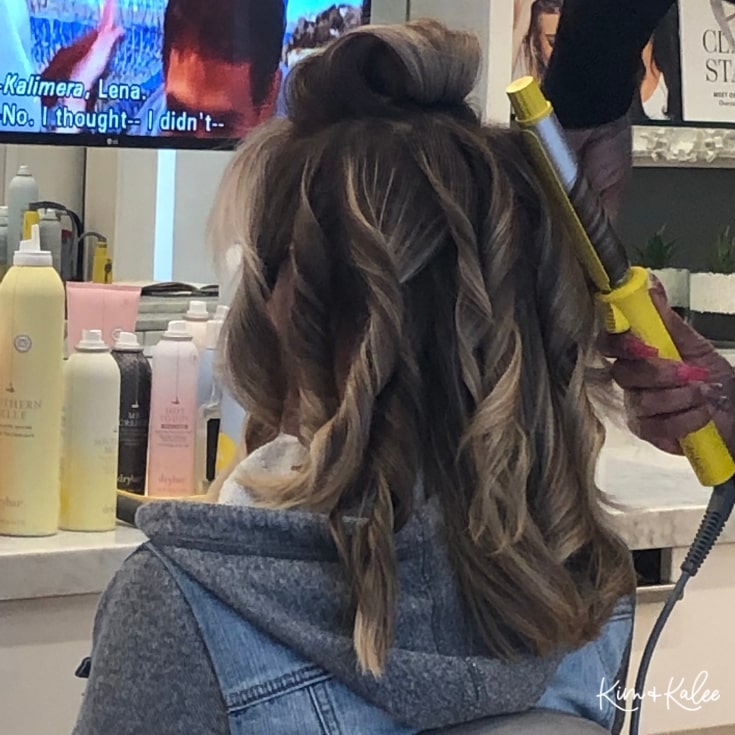
Simply put a blowout is when you blow dry and style your hair with a round brush and/or hot tools.
If you’re like me, that’s WAY easier said than done!!!
Sure, most of us can blow dry our hair and get it dry easily!! However, introduce drying it with round brush and many of us end up a big frizzy mess or in a big ole tangled mess.
Few of us end up with the beautiful silky straight hair or the gorgeous, sexy beach waves that we see walking out of the hair salons when we do it ourselves.
Thus, the introduction to the high-dollar “blowout” at salons.
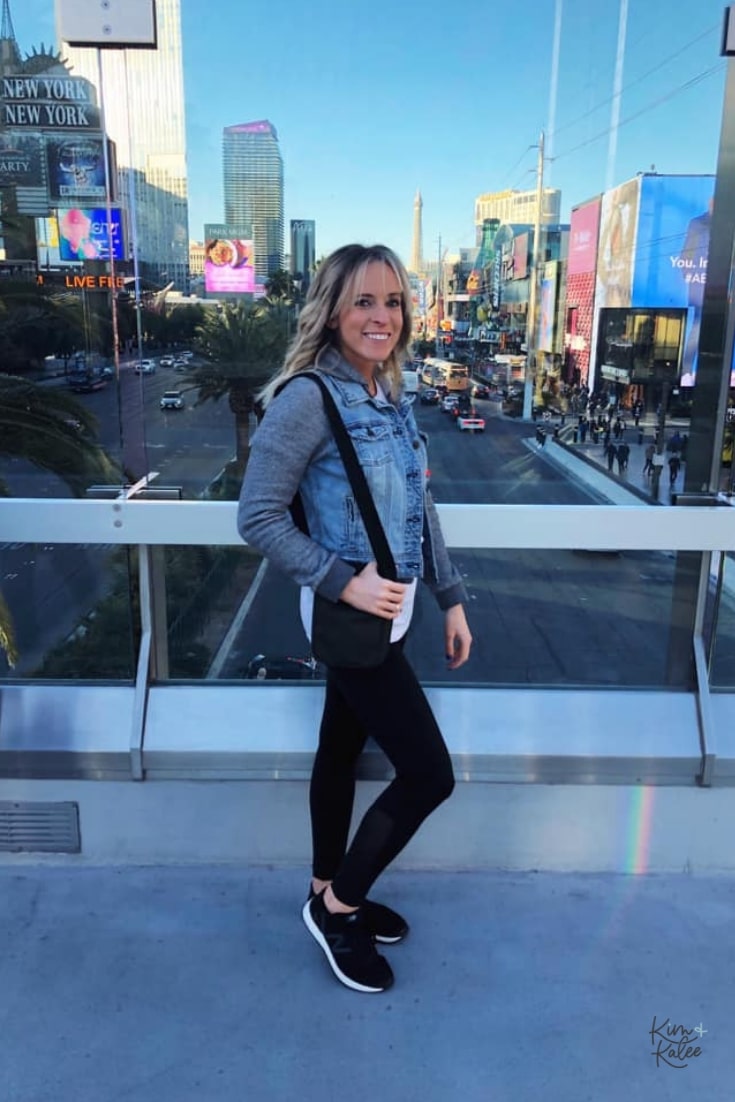
During a blowout appointment, at least the one we had at the drybar in Vegas, you will…
First get you hair washed, and boy, does it feel good!! We both received a cool rinse at the end of our shampooing. This, we are told, helps to seal the hair cuticle which makes the hair shine more.
Second, if you go somewhere like the drybar, they will offer the chance to buy a drinkie drink, and you’ll take your seat.
At the drybar, they had TVs all showing the same movie in closed captioning so you could watch while the hairdresser does your hair.
Also, a live DJ was playing some really loud music. There was no talking happening because between the music and all the hairdryers. It was just too loud.
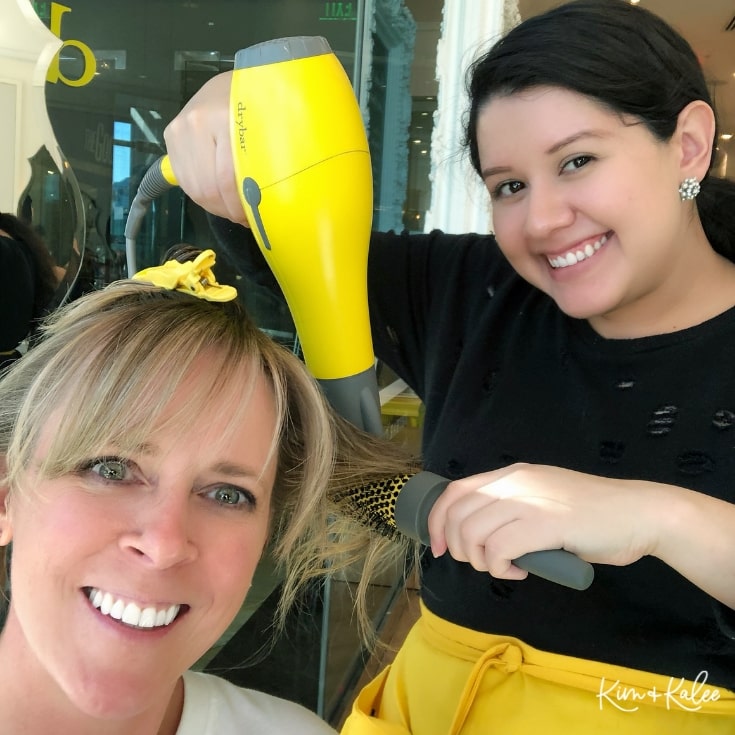
Third, the hairdresser spritzed our hair with some leave-in conditioner, then sectioned it off for better blow drying access. Then the blow drying commenced. One section at a time being blow dried & styled by round brush into a pretty soft straight wave of hair.
The third step can be the final step in the process, but we opted for a beach-like wave. So our hair was sectioned off again, spritz with heat protector, and curling began one section at a time.
The finishing touch was when the hairdresser ran her fingers through the curls to loosen them, and she then went back to finger curl some with a little wax, too, for hold.
Lastly, she top us off with a little soft-touch hairspray to hold the look.
The whole process took about an hour.
You can also give yourself a blowout at home.
We chose to do a blowout in Las Vegas because we didn’t want to have to carry products with us, and it was a fun experience to have!
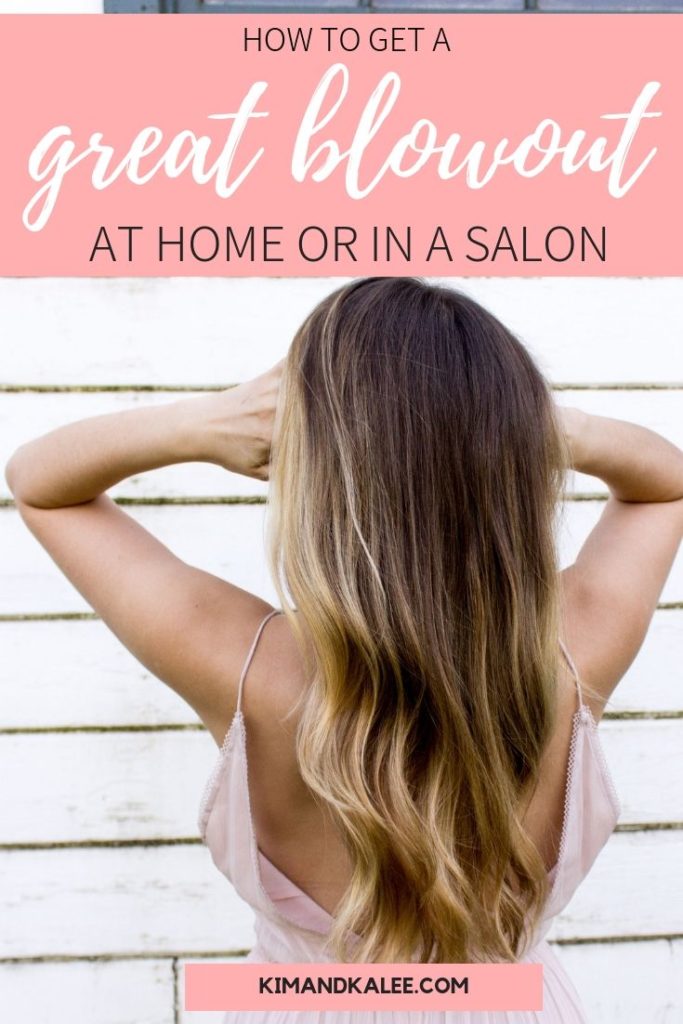
How to Get Blowout Hair at Home
There’s nothing like the feeling you get when you step out of the salon after a fresh blow out. But there’s no reason to head to the salon every time you want that bouncy, smooth look.
You just have to know a few simple tips to achieve the perfect at-home blow out!
How To Get A Perfect At-Home Blowout Step-By-Step
While your stylist may make doing a blowout look easy, it actually takes a little bit of practice to get the technique right.
Luckily, you have us here to walk you through the process step by step to make your DIY blow-out look a mazing the first time you try!
To achieve that salon look at home, just follow these six simple steps.
Step One: Wash and Condition
Since any blowout has to start with wet hair, the perfect at-home look should begin in the shower with a good wash.
Start by shampooing your hair, then make sure to rinse the suds out thoroughly. After that, apply a conditioner to the length and ends of your hair.
Tip: Try to avoid the roots to keep your hair from looking greasy after the blowout is finished.
When selecting your shampoo and conditioner, not just any bottle will do. To get the best results, it’s important to choose a brand and formula that addresses your hair type and issues, like frizz, volume, color treatment, and split ends.
Step Two: Remove Excess Moisture
While you do want your hair to be damp when you start your blowout, it shouldn’t be dripping wet. On top of cutting down on the amount of time you spend drying your hair, it will also help reduce the heat damage caused by the hair dryer.
Start by twisting your hair up into an absorbent microfiber towel right after you get out of the shower, then give the towel a few minutes to soak up the extra moisture before moving on to the next step.
Step Three: Protect Your Hair
Now that your hair is damp, but not soaking wet, run a comb or detangling brush through the length of your hair to remove tangles.
After that, apply a heat protectant to the length of your hair to prevent breakage and keep frizz at bay.
Step Four: Start Drying
There’s no need to grab your brush or nozzle attachment when you first start drying.
The first pass with your hair dryer is simply to dry most of your hair. This will help speed up the styling process and help prevent your hands and elbows from getting fatigued while you’re styling.
During this step, set your hair dryer to a medium or low heat setting and use your hands to work your way around your head, drying your hair until it’s around 70 percent dry.
Step Five: Get Your Tools Ready
Once your hair is mostly dry, it’s time to grab your styling tools.
For best results, it’s a good idea to use a large barrel brush and concentrator nozzle on your hair dryer.
The barrel brush is great for keeping your hair tangle-free as you dry, as well as, adding shape and volume to your blowout.
And the concentrator nozzle helps concentrate the heat and air from your hair dryer into one direction, which prevents fly-aways and frizz.
What type of brush should I use for a blowout?
There are different types and shapes of brushes you can use when doing your own DIY blowout at home.
While boar bristle brushes are the best option for a smooth finish, plastic or synthetic brushes are another option. It’s also important to consider the size of your barrel brush.
While smaller barrels are great when you want tighter waves or curls, larger barrels will give you bigger waves and more volume. A paddle brush will help you get a sleek, straight look.
Step Six: Start Styling
Once you have all your tools ready to go, it’s time to start styling! First, section off your hair into four sections using hair clips – two on top and two on bottom.
Then, start styling on the bottom section.
Using your round brush, roll the section of hair around the brush, then aim the nozzle of the hair dryer down on the brush while using the medium heat setting.
Hold the brush in place for a minute after removing the heat, allowing it to cool. Then slowly unroll that section.
Repeat the process on each section of your head until all your hair has been styled.
Step Seven: Finish with Product
After you have all the sections of your hair blown out and styled, the only thing left to do is treat it with finishing cream.
Apply a dime sized amount of cream to your palm, then rub the cream along the length of your hair and on the ends to seal in the moisture and prevent frizz.

This was Sunday our last day in Vegas & our Blowout.
Favorite Blowout Hair Tools & Tips
We love Drybar’s hair products and tools. Our favorite tools are their hairdryer and curling iron. We have a One-Pass Flat Iron instead though.
Favorite Drybar Products
- Prep Rally Detangler
- Southern Belle Volume-Boosting Mouse
- Hot Toddy Heat Protector Spray
- Money Maker Hairspray or their 3-in-1 Finishing Spray
- Detox Dry Shampoo
They also have shampoo and conditioner, but I prefer Function of Beauty’s products because they’re customizable.
We also love this purple shampoo to keep our blonde bright and ashy!
Blowout Hair Tip
You may try a silk pillow case or nice shower cap to extend the life of your blowout hairstyle.
Are blowouts bad for your hair?
Great question!! Are blowouts bad for your hair? This is a hard one to answer though. This is all dependent on your hair. How healthy is your hair right now? Is your hair chemically treated? Do you have naturally curly hair? Is your hair dry & brittle?
When blowouts are done by a professional, you should be in good hands. The hairdresser will let you know if she (or he) does not feel like your hair can handle the heat.
However, given that you have fairly normal hair…curly or straight…you should be just fine. They will put heat protectors on it, and they know how to blow dry your hair for the maximum shine and health of your hair.

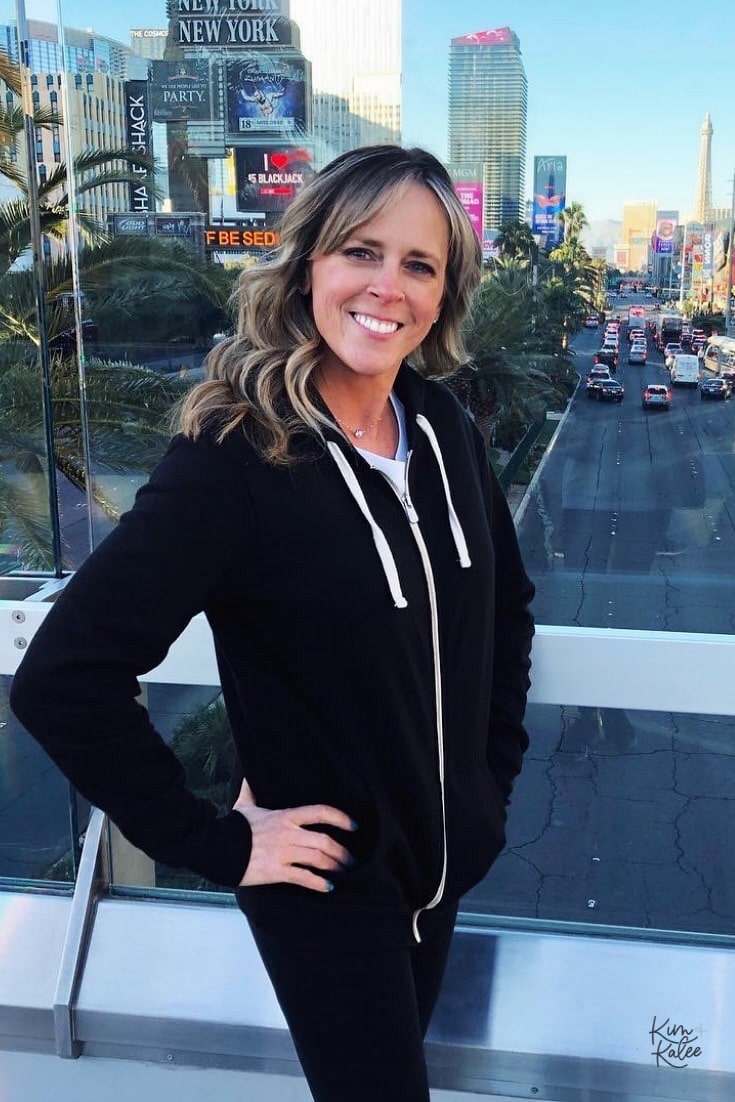
We had ours done on a Friday, and we were pretty active while in Vegas. We probably also tossed & turned more than normal while sleeping because we weren’t in our own bed, but we still had a pretty blowout by Sunday when we left Vegas.
Due to traveling & rain, we did wash our hair by day 4 which was fine because we had seen the better days of our blowout by then anyway.
Have you had one before? What were your thoughts?
We all went to Vegas for Kalee’s 30th Birthday to see Backstreet Boys. Check out Kalee’s reflections as she turned 30.

